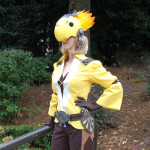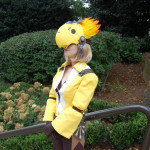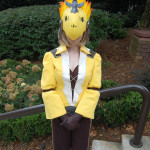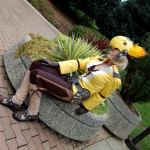
Chief Chocowacker
Final Fantasy XIV: A Realm Reborn
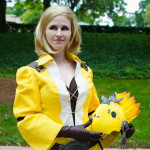
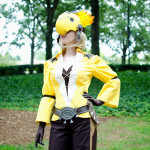
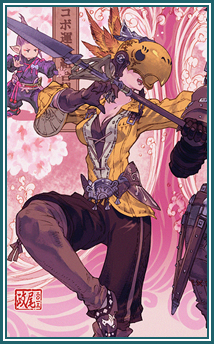
Inspiration: Ever since I played my first Final Fantasy game, I have been obsessed with chocobos! When I saw the chocoporters in FFXIV I instantly knew I wanted to make that outfit. Then I played the horse event with the Chief Chocowacker and I knew being the head chocobo enthusiast was the costume for me!
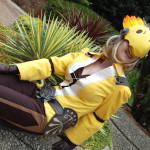
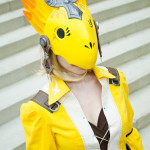
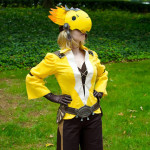
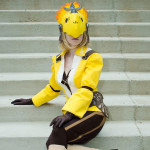
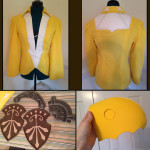
Materials/Construction Details: The shirt is made out of gauze with a cotton lining since gauze is so thin. The white detailing is made if suede. I used my dress form to pattern out these pieces to ensure they lined up well on the shirt. The patterns on the collar were also made out of this suede and where appliquéd on. I hand stitched embroidery floss through this costume for the dramatic stitching.
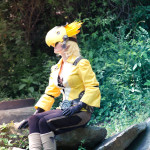
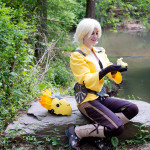
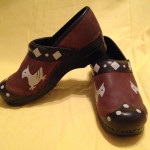
The shorts were made of cotton with tan suiting and patterned suede on the side panels. The leg warmers are made of fleece. The shoes are my favorite part of this costume other than the helmet. I bought the base shoes on eBay and then used angelus leather paint to add the darker brown details, diamonds, circles, and of course the cute little chocobos!
The best consists of two vinyl hip guards, which I also painted with the angelus leather paint, and two pieces made of worbla. I first drafted the designs on paper me then cut that up to use as patterns to make the pieces out of craft foam. Worbla was then heat formed around the objects and painted. I still have a lot to learn about painting, but I attempted to use various shades of gunmetal silver to weather the pieces and give high and low lights. I used embroidery floss to make tiny tassels to attach to the belt pieces.
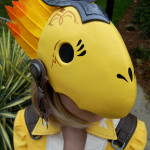
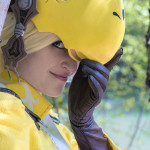
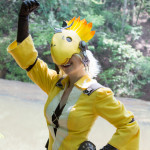
The helmet was the biggest challenge of this costume, especially since I have never made anything like it. I started by making the general shape of the chocobo head visor out of paper. I had to make several attempts before I got the shape right, which ended up being two pieces that curved and fit together right down the middle. I then cut that shape out of craft foam and glued it together. The next step was very carefully melting worbla over the piece and working out all the air bubbles and seams. Once the visor shape was finalized, I started the process of covering it all is several coats of gesso and then sanding it until smooth. This process covers up the bumpy texture of the worbla for a smooth painting surface. I made the separate chin piece in a similar fashion.
The silver piece was also made separately. I cut the general shape out of craft foam and sculpted air dry clay on top for all the raised sections. I then covered all that with worbla and heat formed it into the correct shape before painting it.
I bought a hat from a Halloween store to act as my base helmet. I cut the brim of the hat off and then carefully heat formed worbla over the hat. I took some time to get all the wrinkles out of the worbla since I was melting it onto a curve, but with a lot of reheating I was able to get it all smooth. I then made a band out of the patterned suede I used on the shorts to attach around the base of the helmet. To attach the visor to the helmet, holes were carefully drilled at the sides of the visor and it was then screwed in place to the base helmet.
I bought yellow turkey rounds for the feathers. I shaped the tips to make them sharper points and then used a spray on dye called Tint-IT to gradient the yellow to gold. The very tips of the feathers were painted orange with acrylic paint. I lined the top of the visor with a layer of upholstery foam to have a better surface to glue the feathers too and so that I could have tiered layers of feathers.
Wig: I borrowed this wig from my friend Twinklebat who used it for her Starbuck cosplay. The wig I originally purchased for this costume was too thick to wear under the helmet, but this one worked out perfectly!
- Photo by BentPic5
- Photo by BentPic5
- Photo by BentPic5
- Photo by BentPic5
- Photo by BentPic5


