The Making of Anna’s Boots
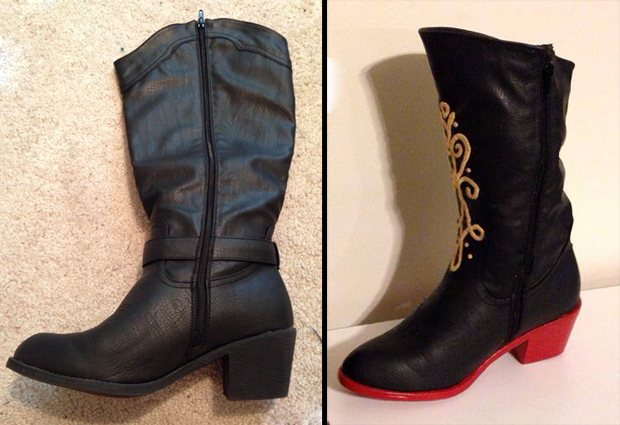
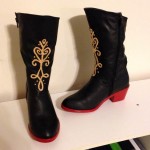
I bought these cowboy boots because I liked the shape at the bottom, but they flared out much further at the top than I wanted. My first order of business was to removed the strap at the ankle, which just required some careful seam ripping. Then I removed the decorative piece at the top of the boot and seam ripped the seam going down the back of the boot. With the boot open down the back, it was easier for me to do the embroidery.
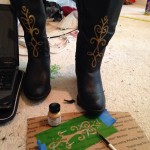
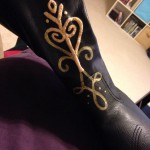
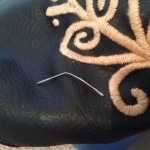
First I made a stencil of the design and then used leather paint to paint it on the boot to give me a guide for the stitching. All of this embroidery was done by hand with the help of pliers in some places, which took about 15 hours due to the thickness of the material I was working with. Once the embroidery was done, I cut away some of the extra fabric along the back seam of the boot to make them fit tighter and them hand stitched them back up. I then cut the tops of the boot shorter and at a slant so that it was taller in the front and then hemmed it.
The final step was to paint the soles with red plastic-dip (my friend Mary gave me the idea <3), which I did with a small foam brush after using painters tape to protect the places I didn't want plasti-dip going. I had to do five coats before I was satisfied with the coverage and evenness. These boots were quite the project, but overall I'm happy with how they turned out!
*When I was cutting off the tops of the boots I had a careless moment and cut them while the zipper was up, thus separating the zipper pull from the boot. After a period of panic, the problem was able to be fixed with the help of online tutorials and my husband. I more than a little freaked out for a moment though after all that hand embroidery!!
